Fire cider is a delicious old folk remedy that’s highly beneficial to our overall health and very easy to make. I created the following recipe to match my desired flavor and spice level. Feel free to alter the amount and type of ingredients used to your liking. Fire cider begs you to get creative and make it your own!
Horseradish Fire Cider
Yield: About 32 oz
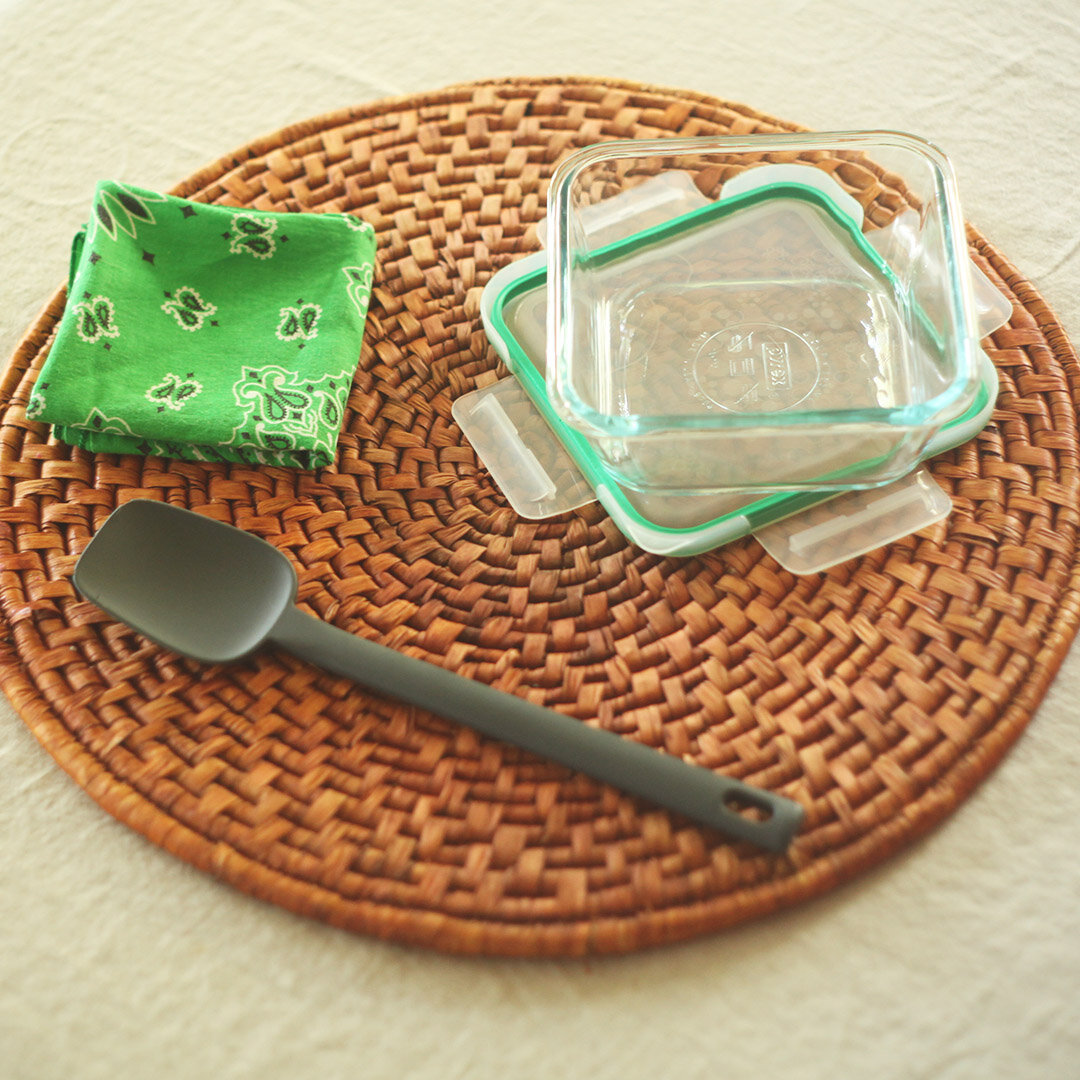
Supplies & Ingredients Needed
32 - 40 oz raw apple cider vinegar
1 - 1 ½ cups raw honey
2 medium sized horseradish roots, peeled & chopped
2 large onions (I use red & white), chopped
1 head of garlic, chopped
4 inches of ginger root, peeled & chopped
2 – 4 serrano peppers, chopped
2 - 4 sprigs fresh rosemary, separated from stem & chopped
1 large handful of spruce or pine needles, chopped
2 – quart sized mason jars w/ lids & rings
2 – pieces of plastic wrap & parchment paper
large cutting board
sharp chef's knife
vegetable peeler
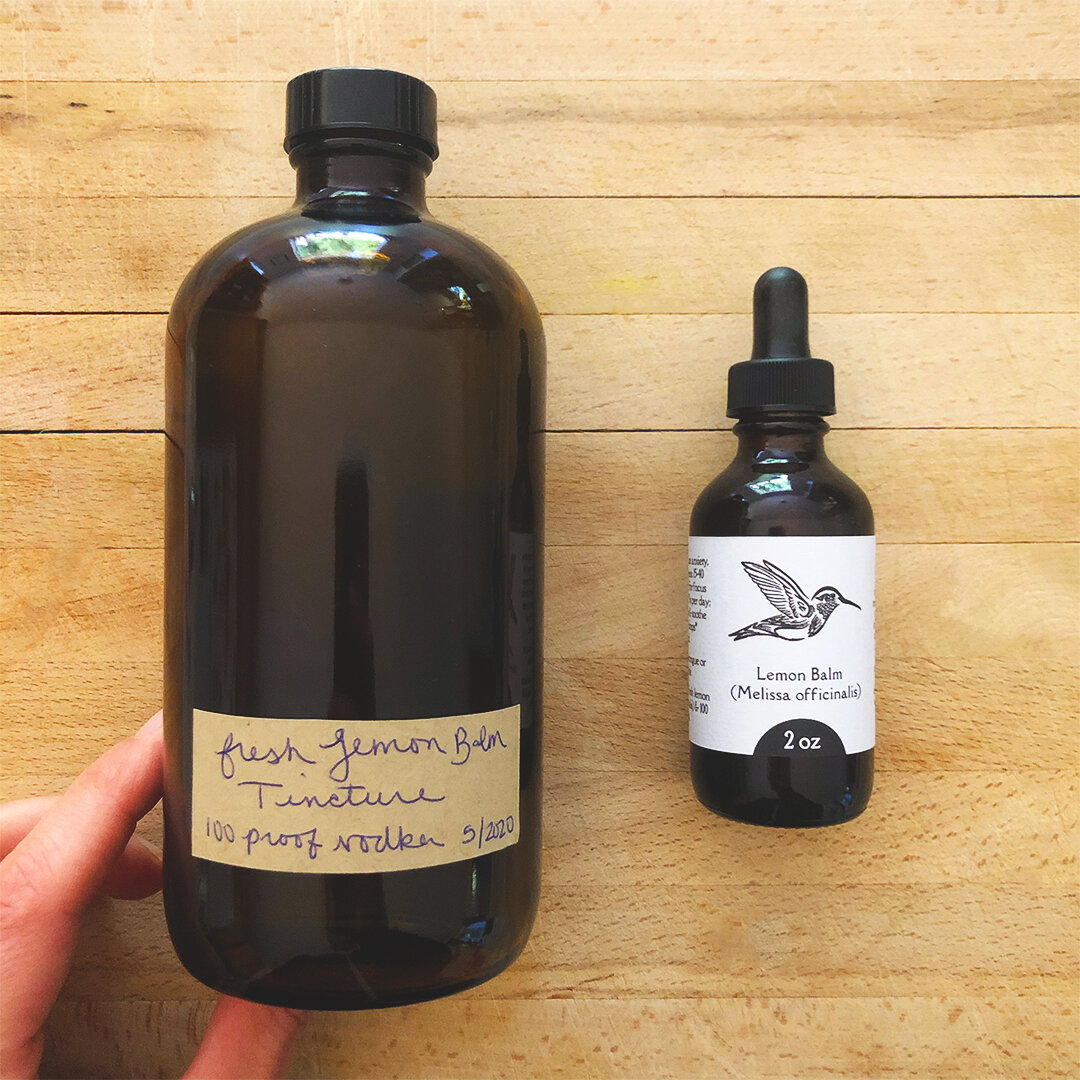
empty, clean apple cider vinegar bottle w/ cap
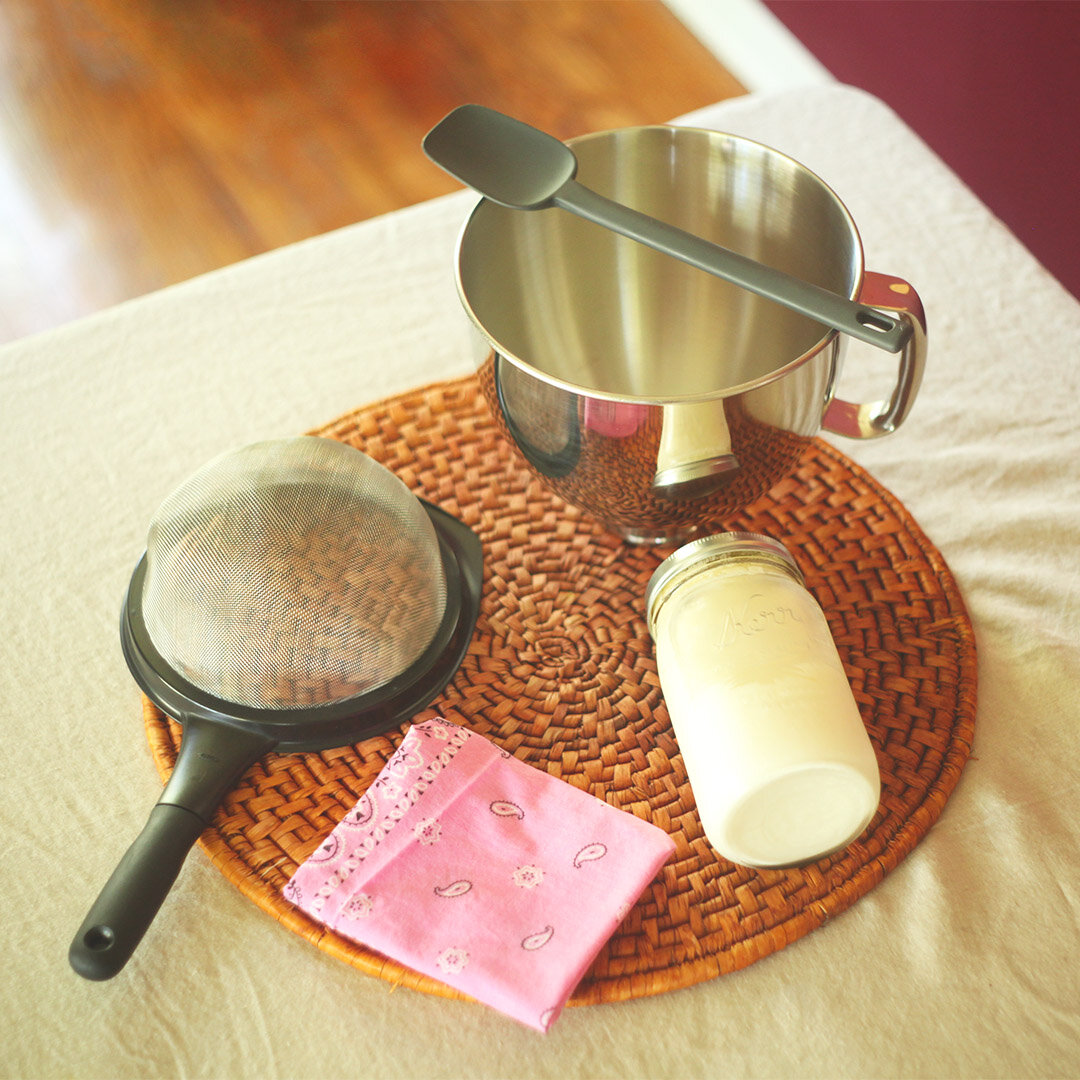
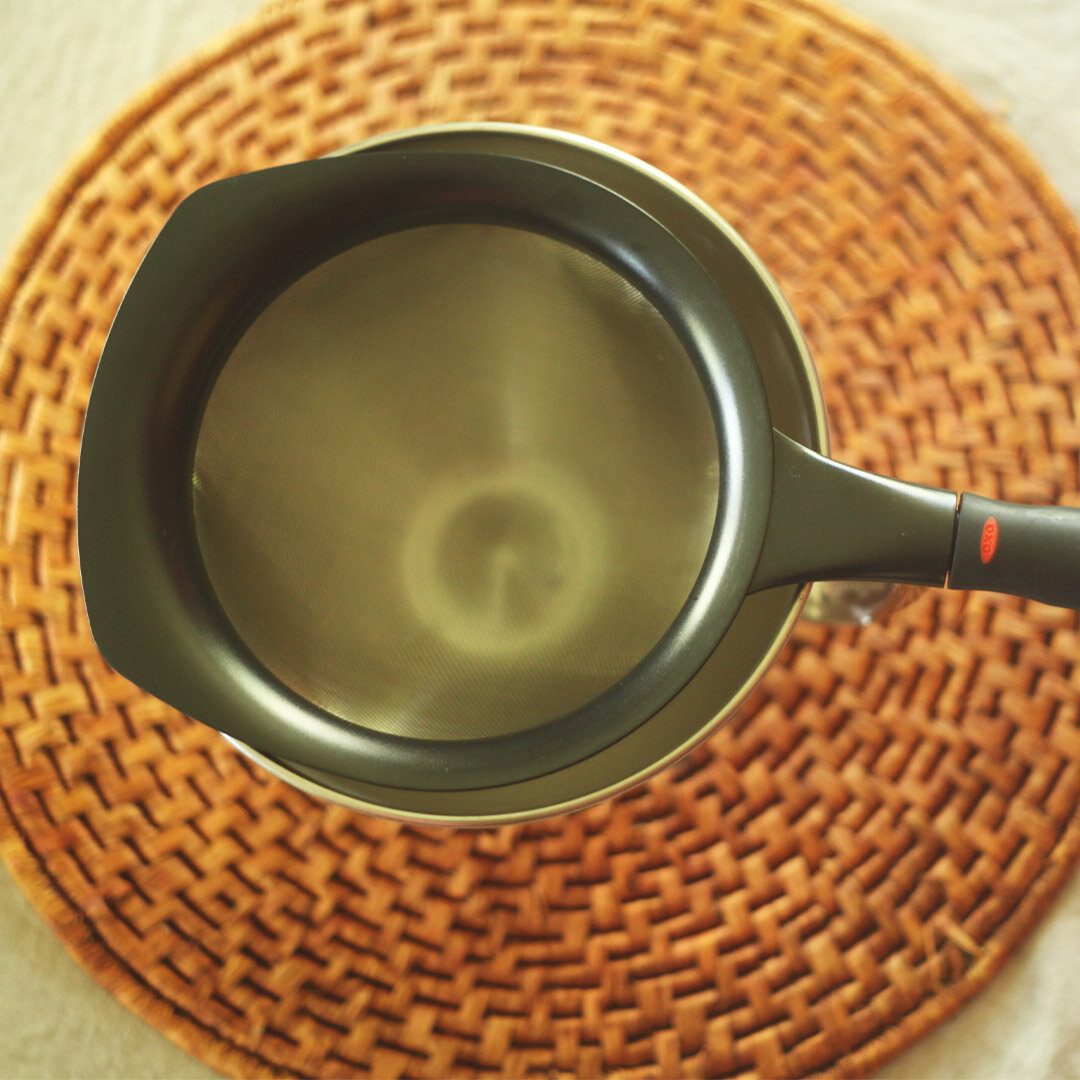
large glass or plastic bowl
fine mesh strainer
wooden spoon
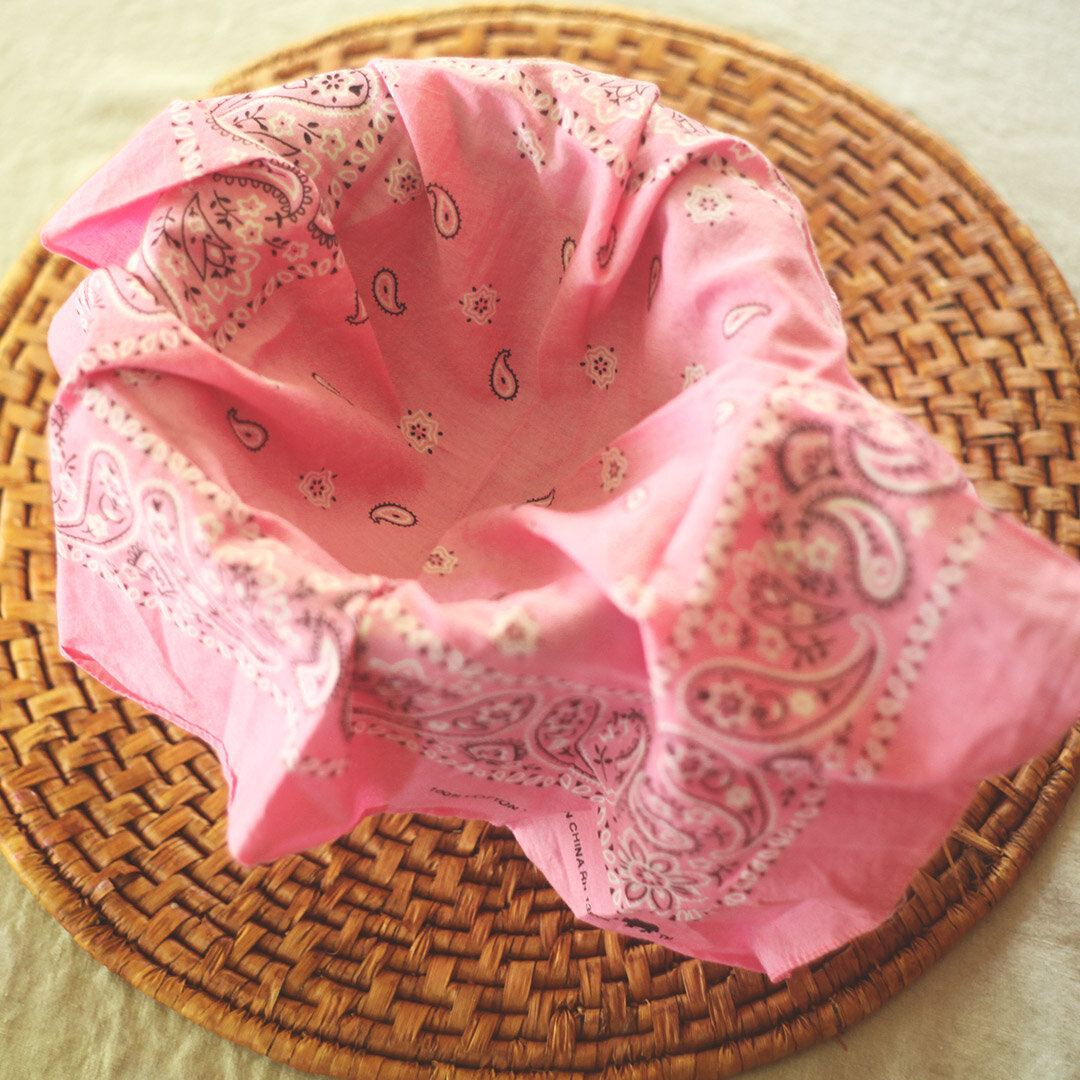
cheesecloth
permanent marker
labels
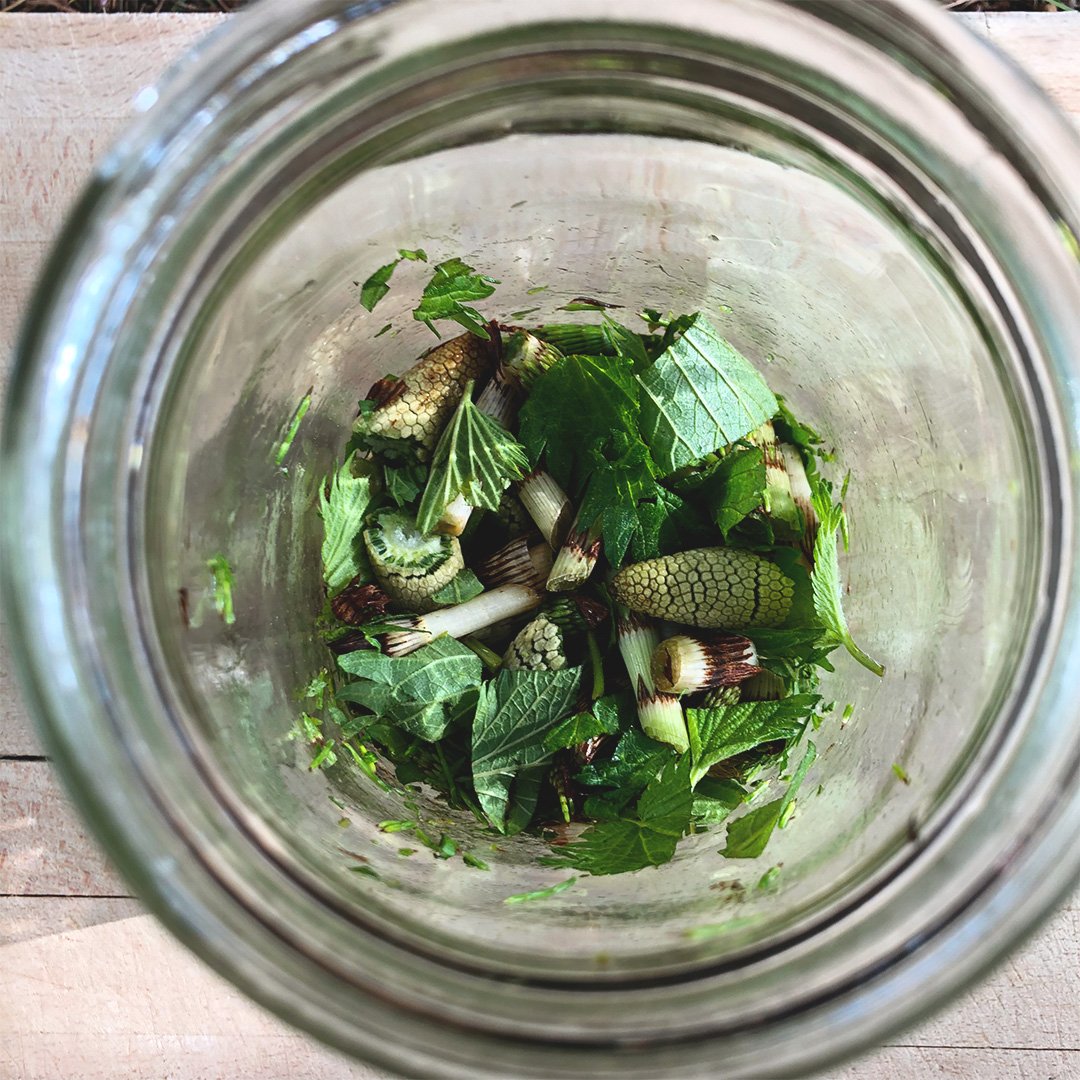
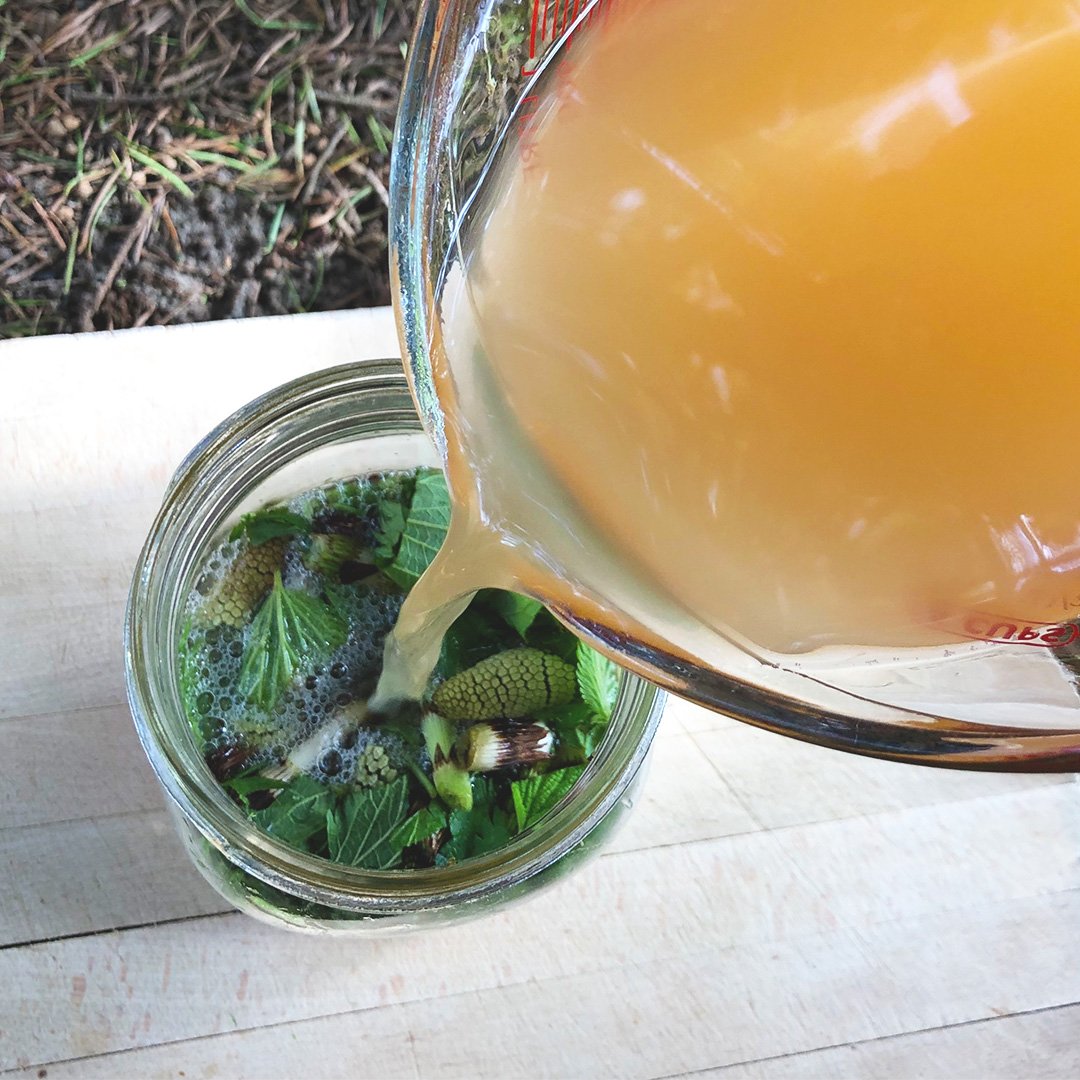
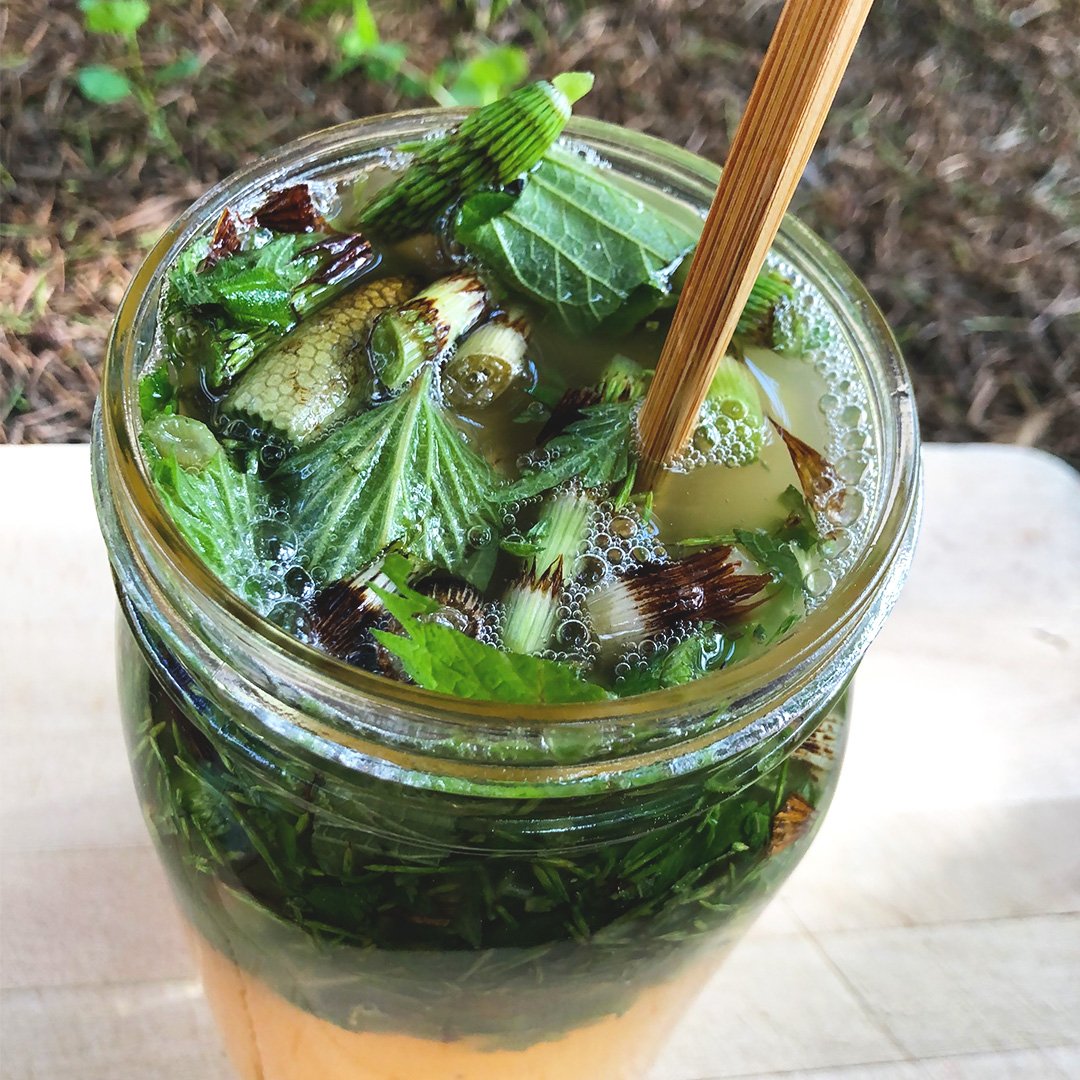
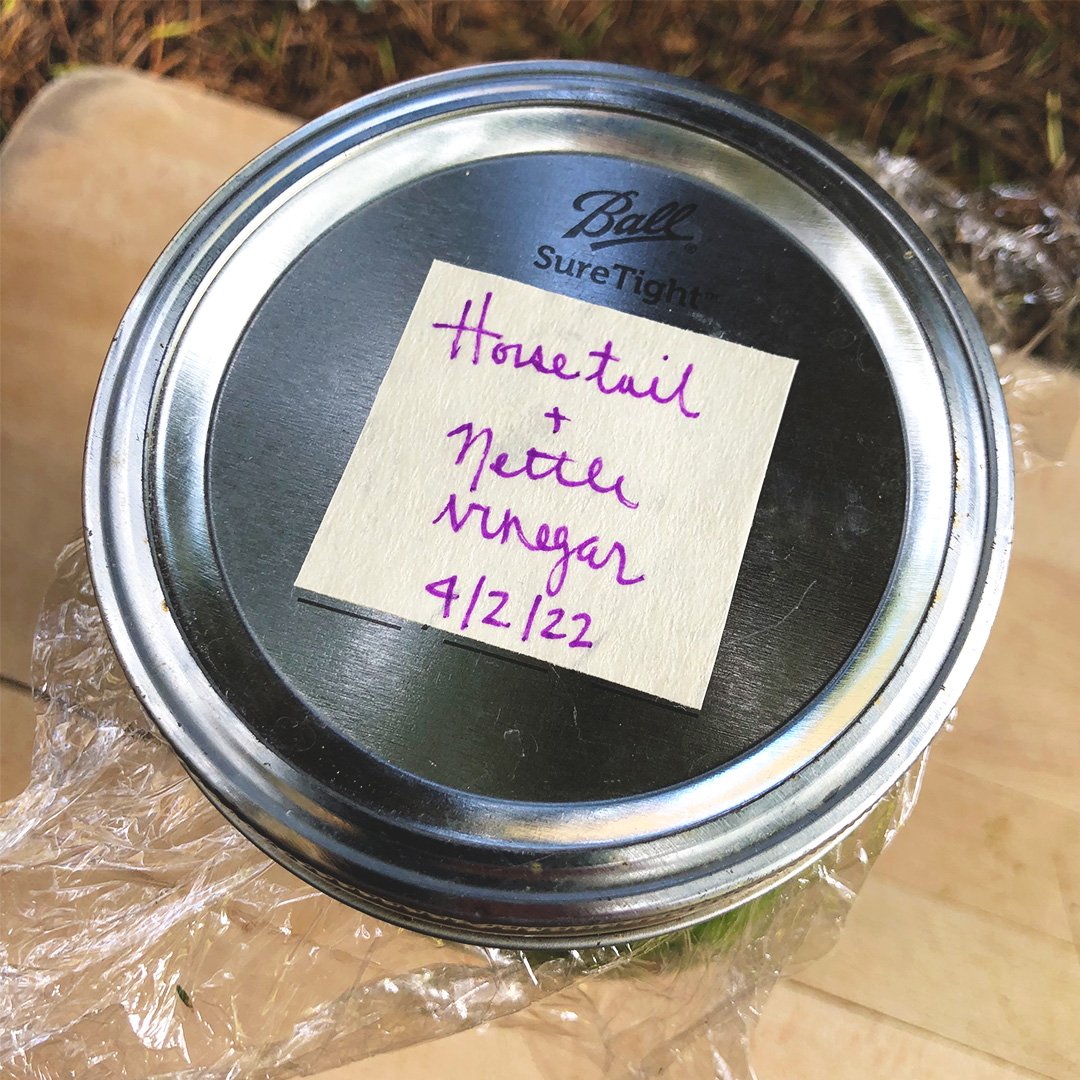
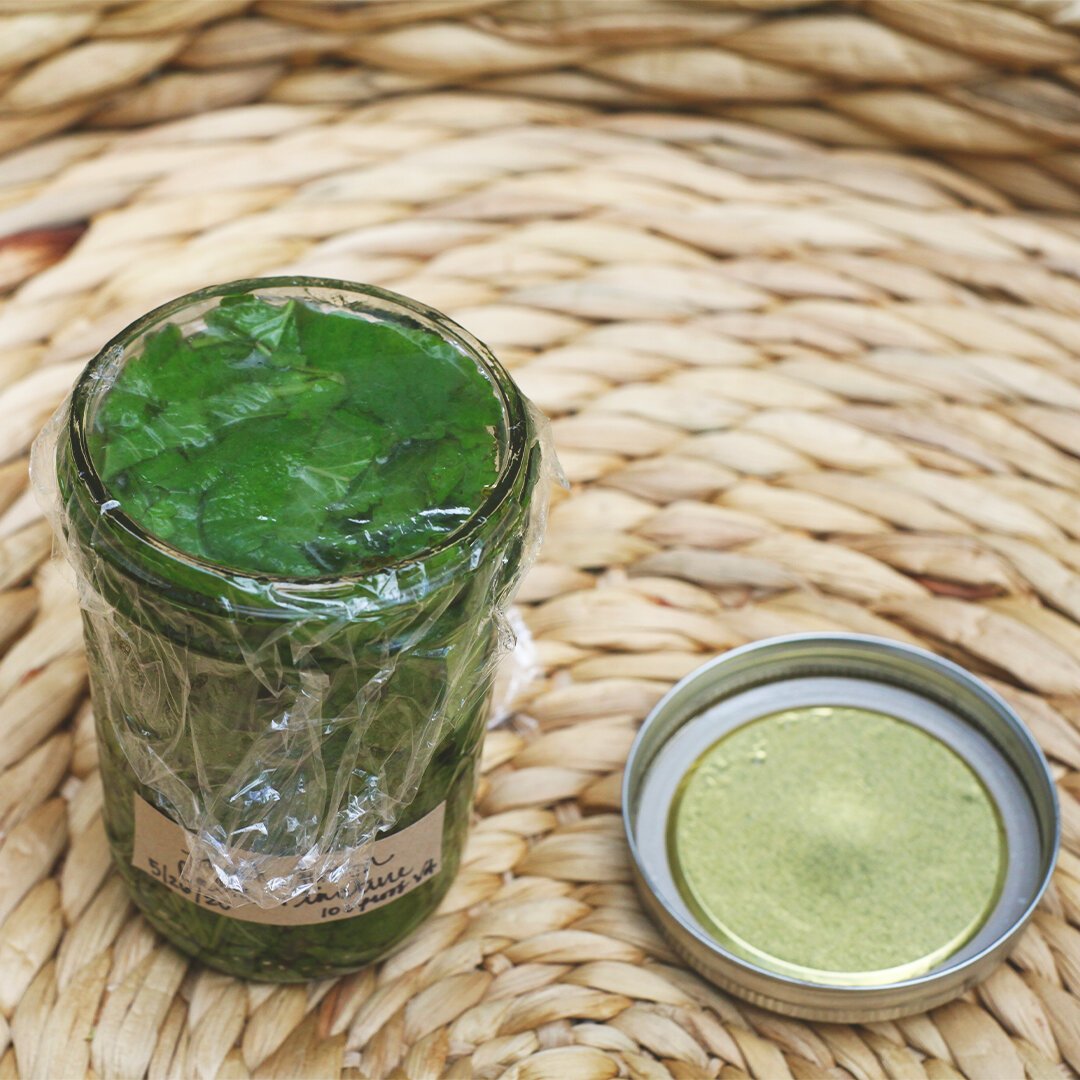
Peel the onions, horseradish, garlic & ginger. Roughly chop all ingredients, mix everything together in a large bowl and add mixture into the mason jars, filling to the top. Pour the apple cider vinegar into the jars to cover ingredients. Place a piece of plastic wrap over the top of the jar, followed by a piece of parchment paper. Seal and label each jar tightly with a lid and ring, shake well and store in a cool dark place 4 - 6 weeks to macerate. Shake each jar a few times a week.
*The plastic wrap and parchment paper will help prevent the ACV from eroding the metal lids. Use plastic lids if you wish to skip the extra materials/steps.

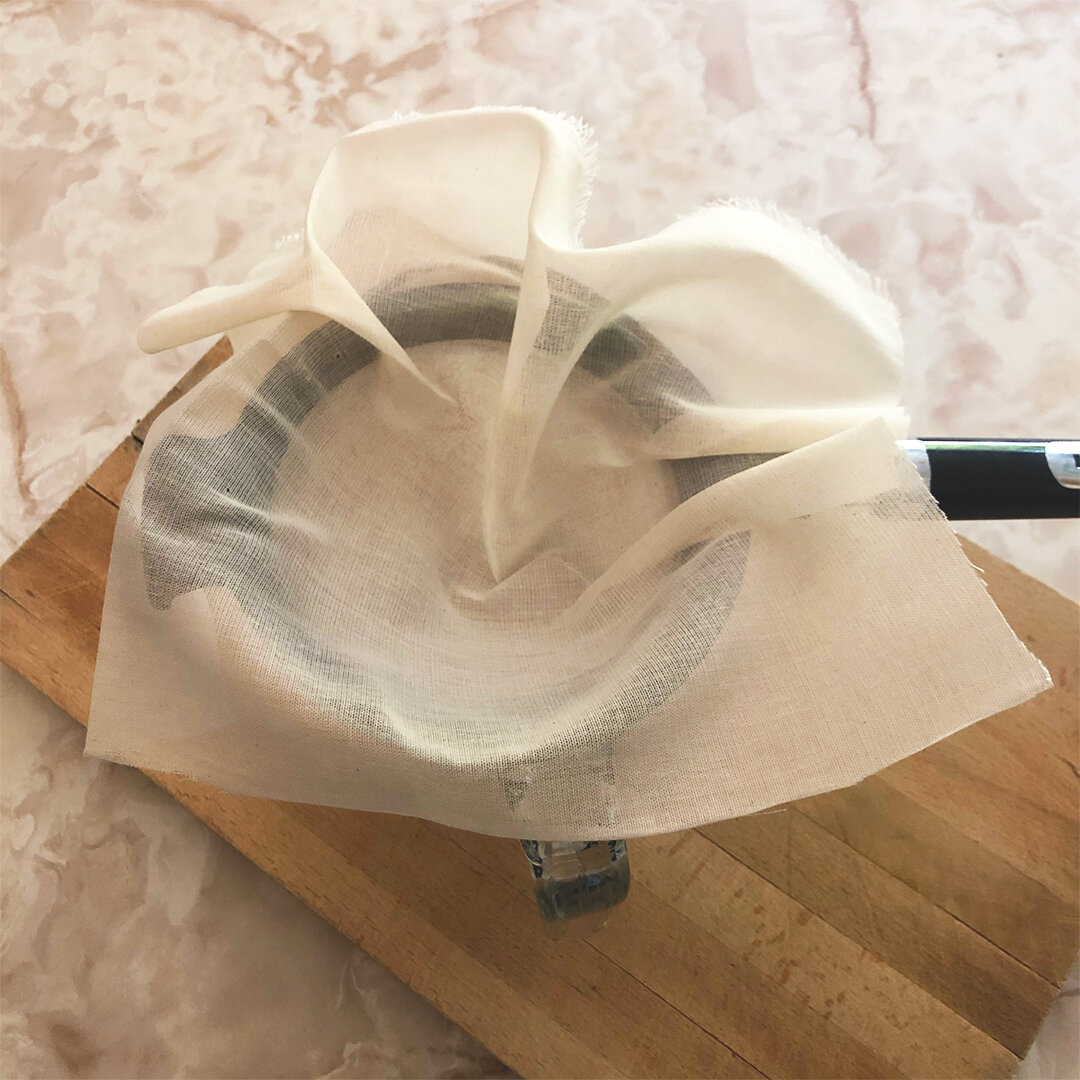
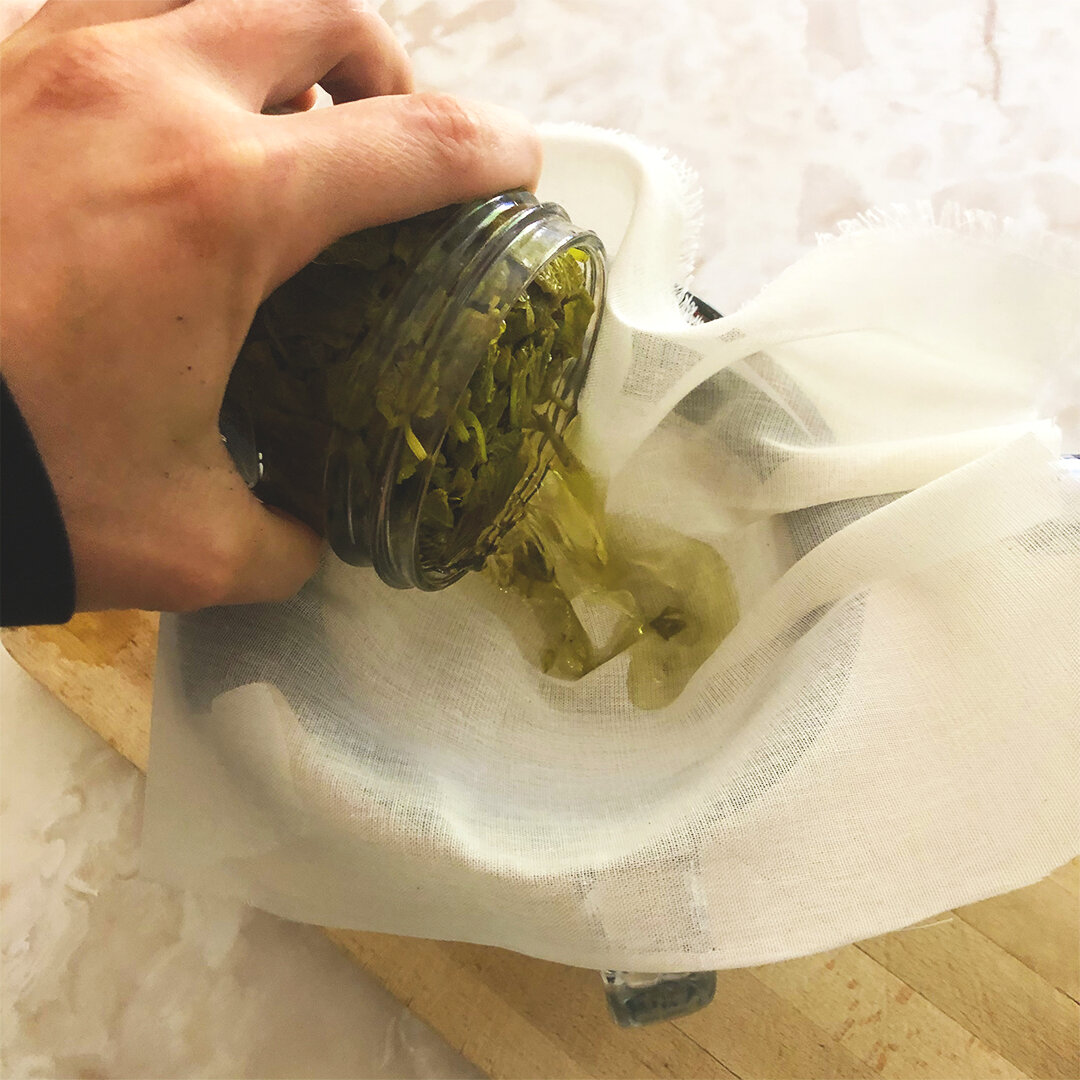
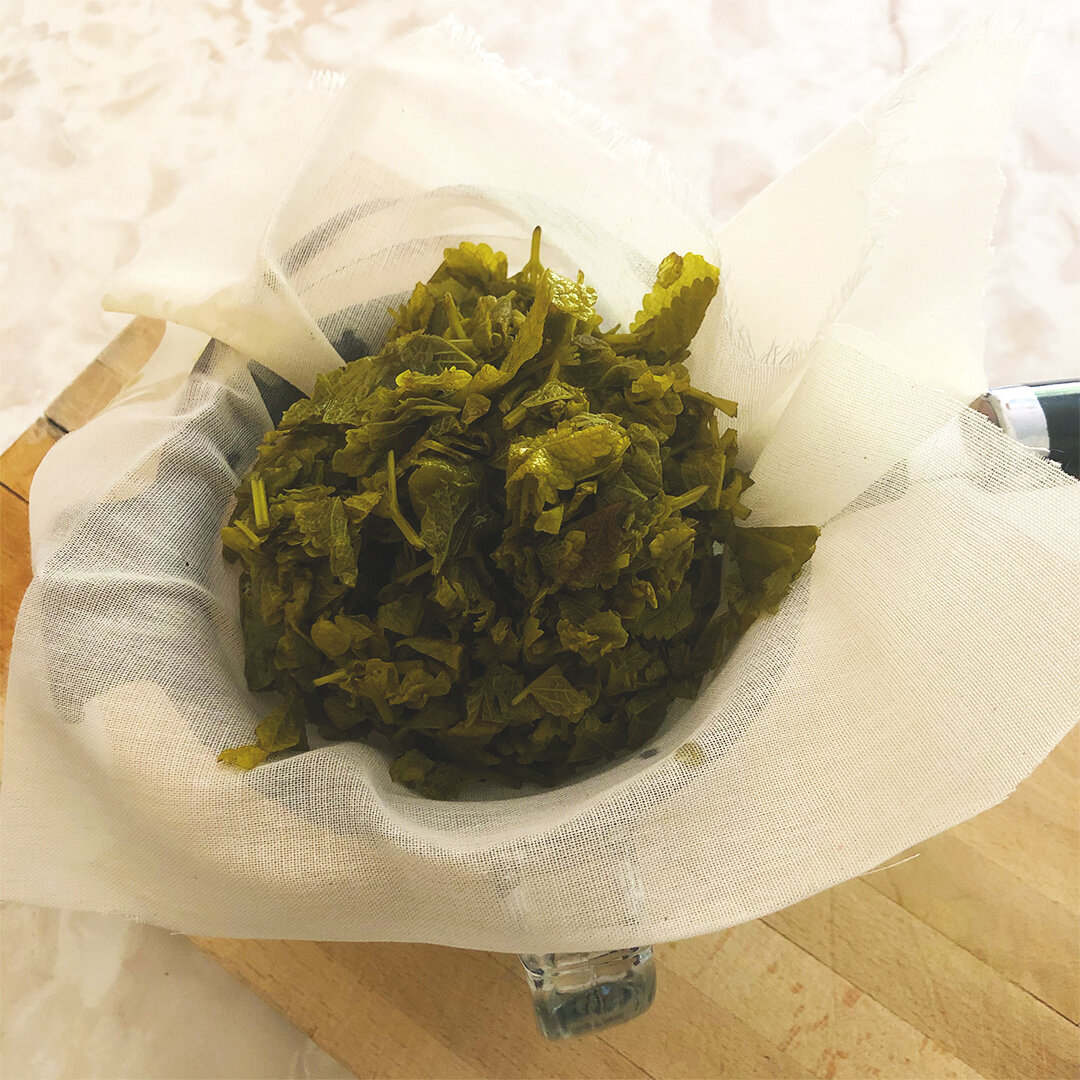
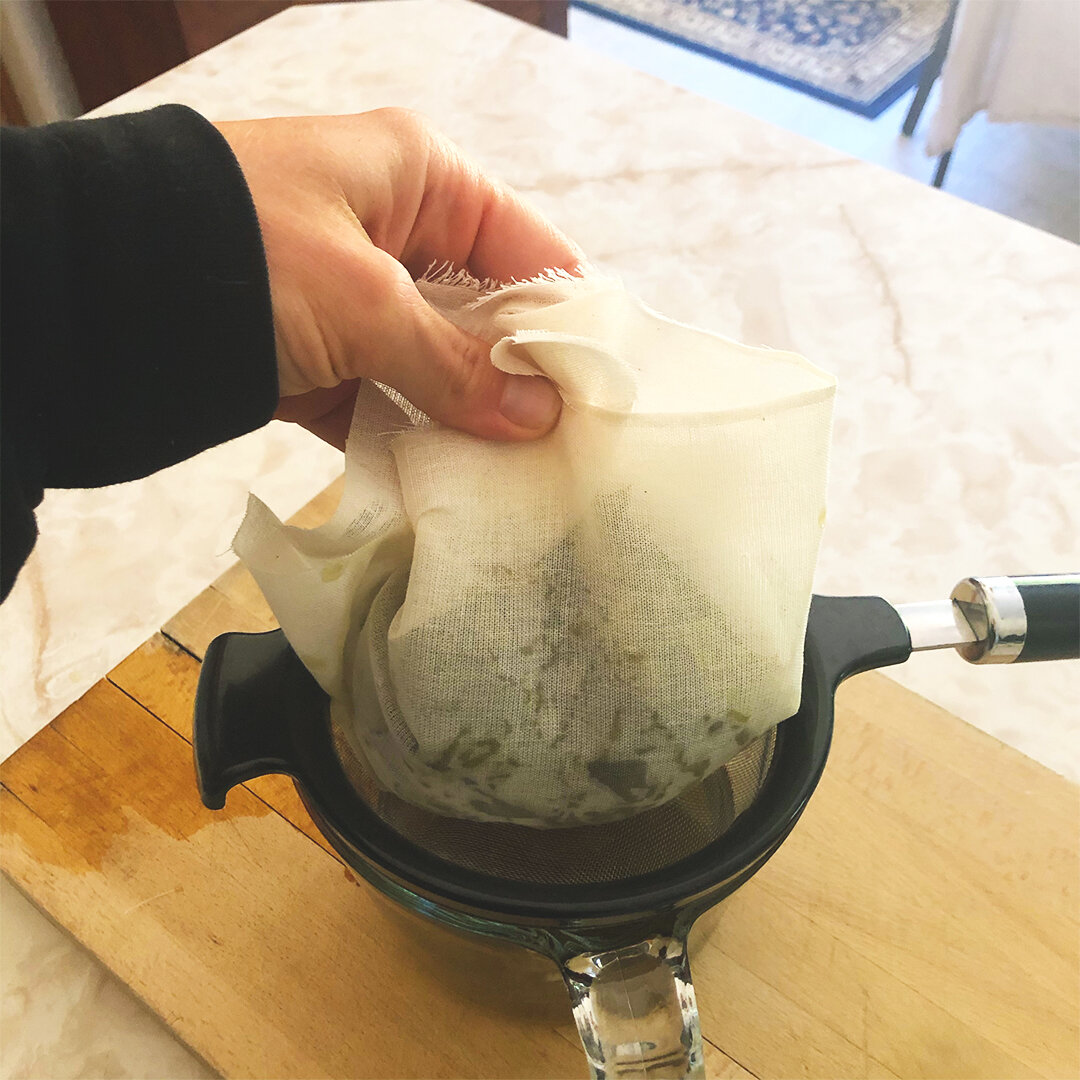
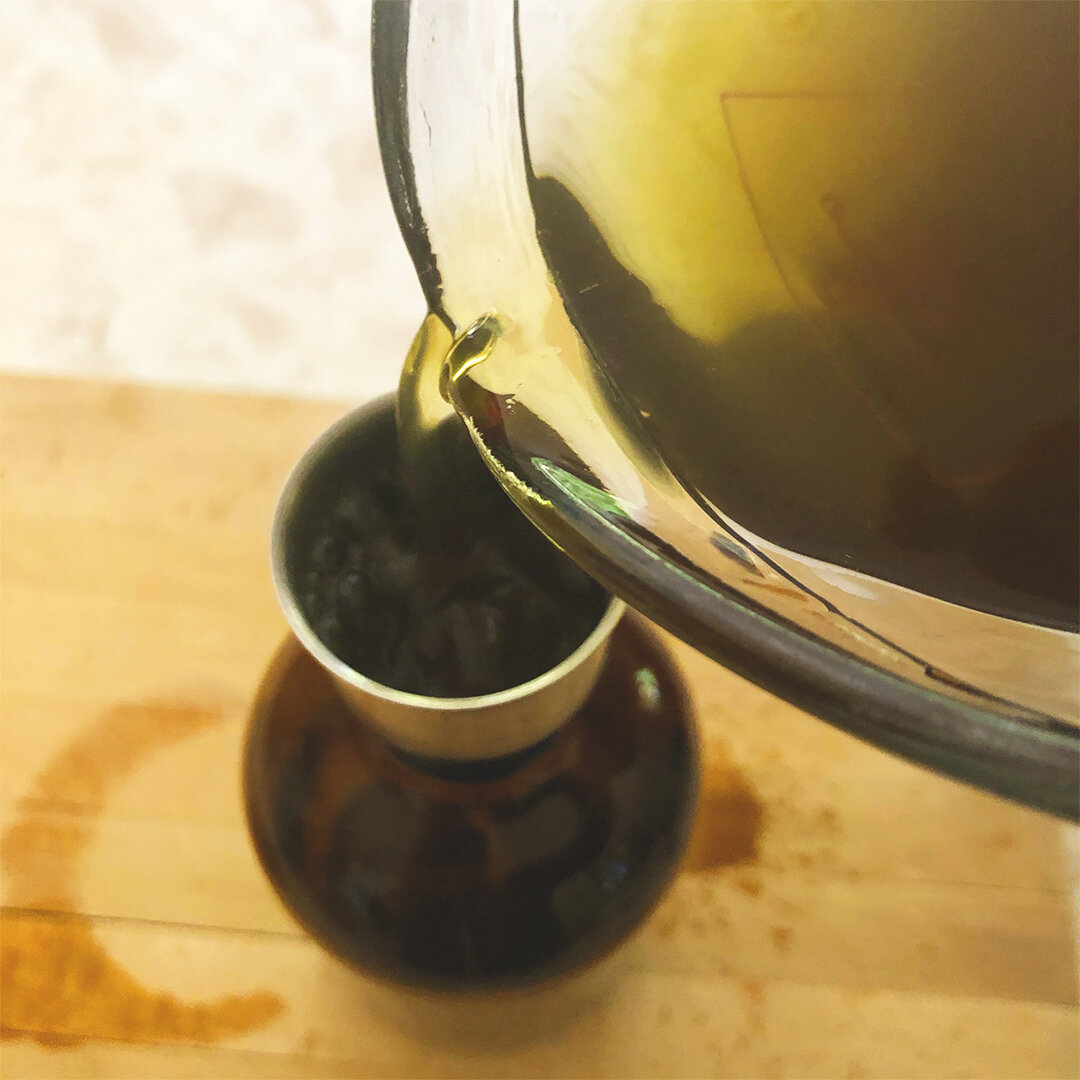
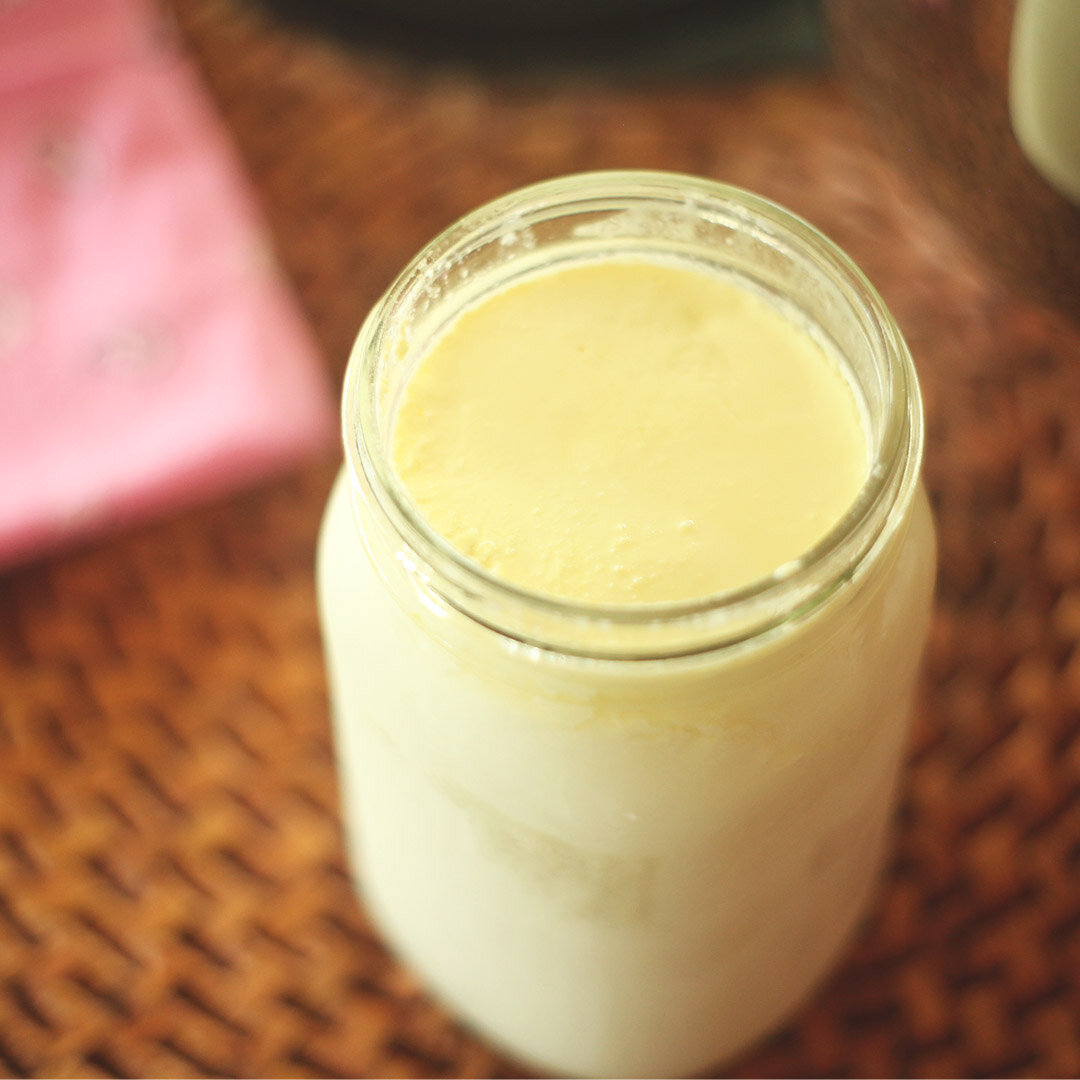
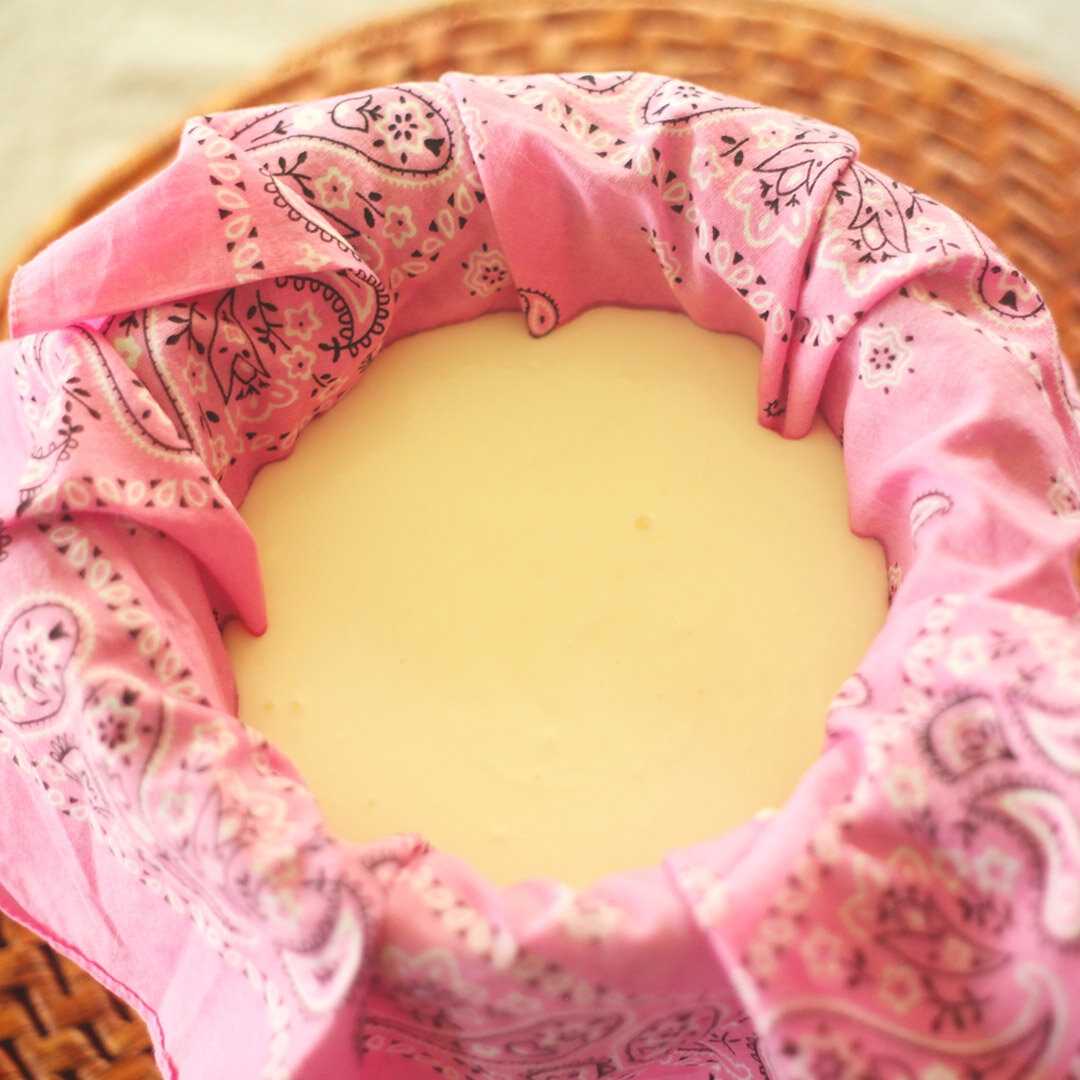
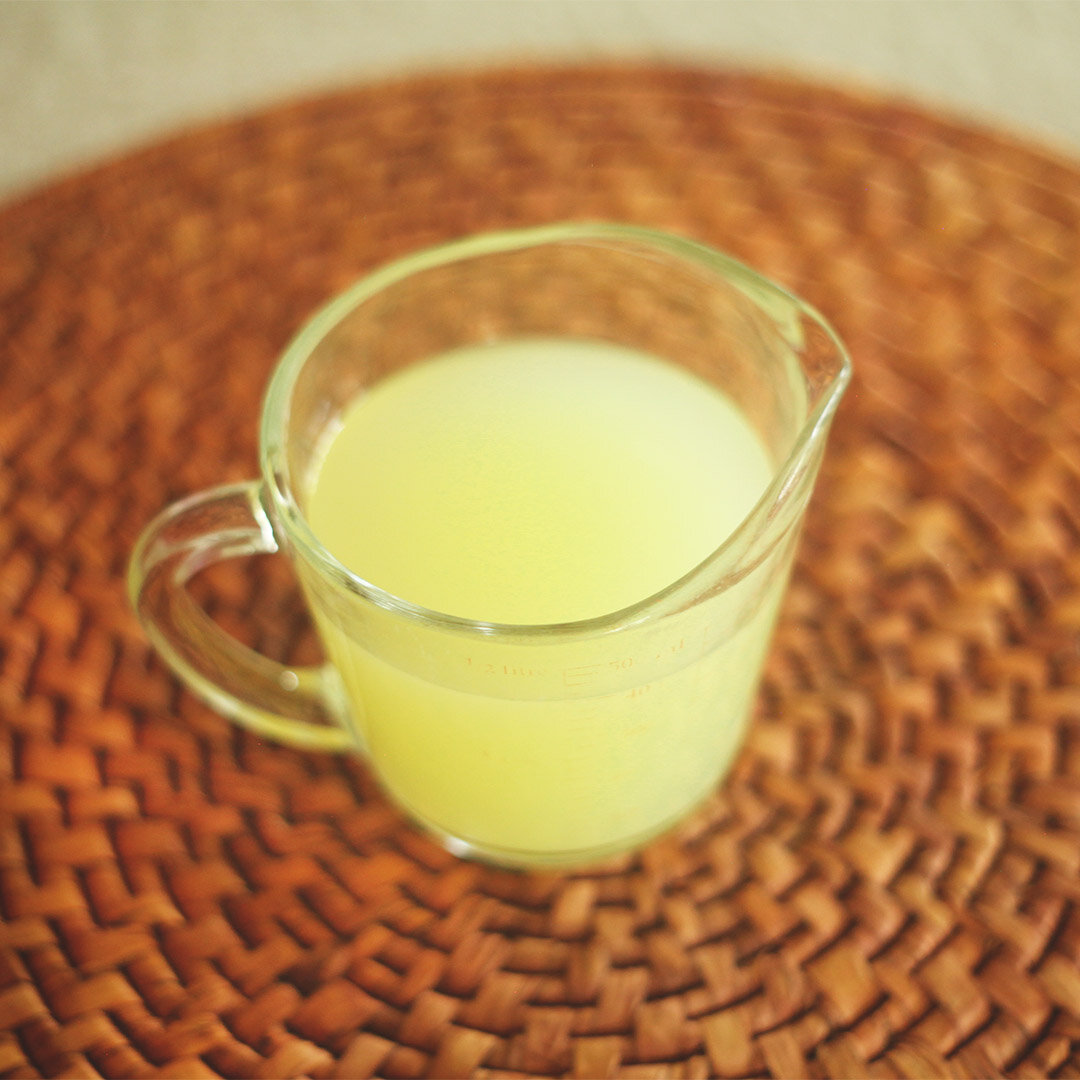
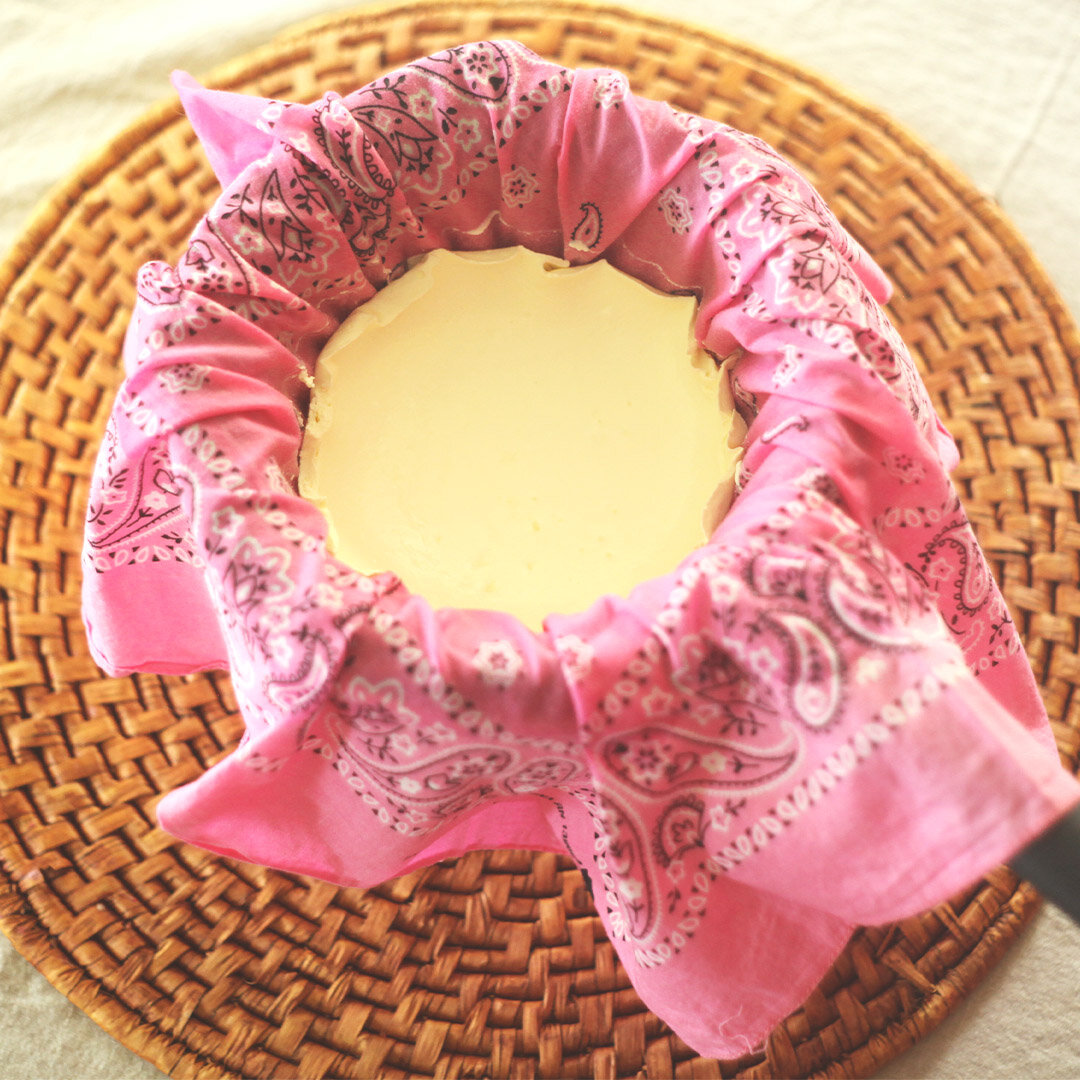
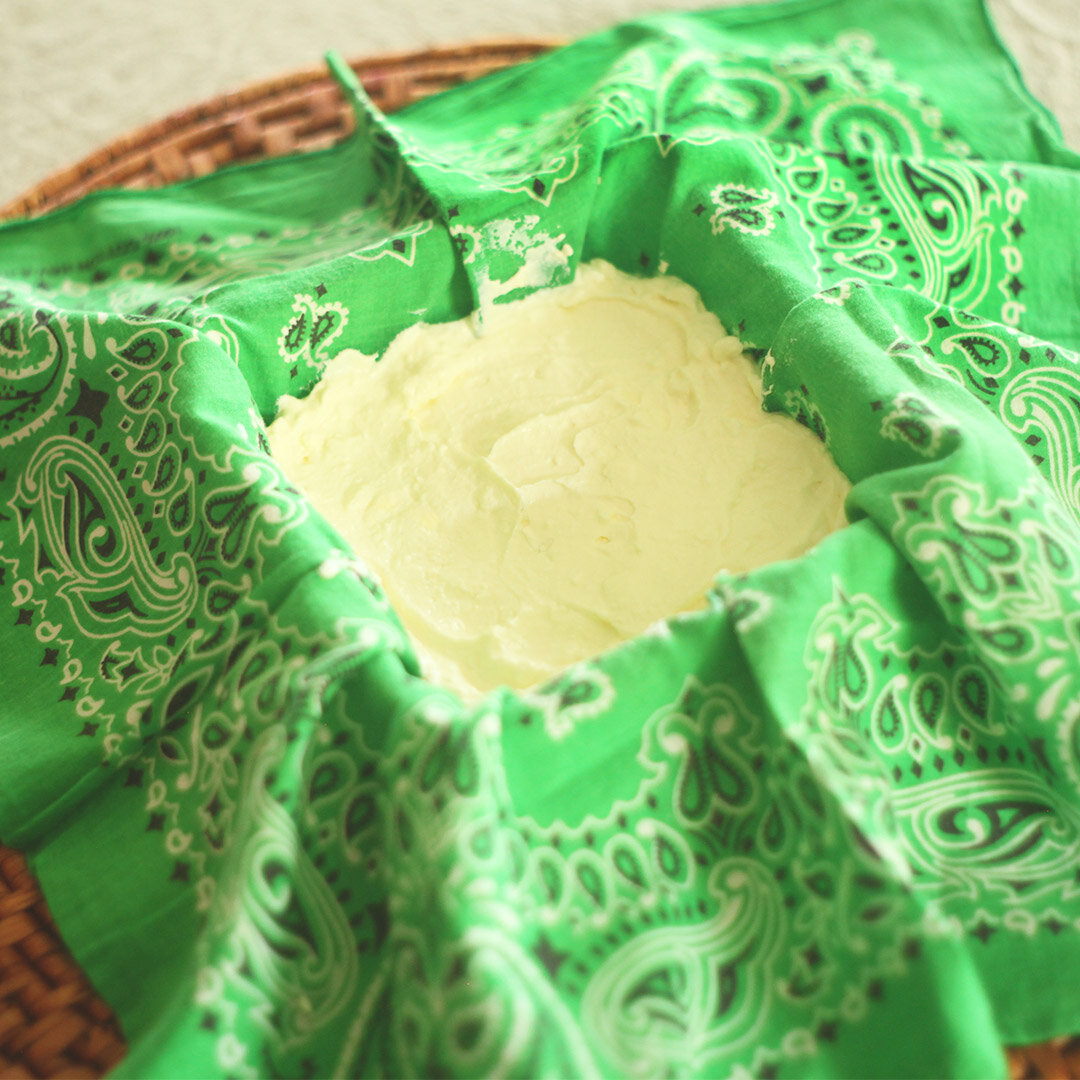
After maceration is complete, rest a fine mesh strainer lined with cheesecloth into a large glass or plastic bowl. Pour the contents of each jar into the strainer, form a sachet with the cheesecloth and squeeze all the liquid into the bowl. Compost the veggies, roots and plants. Add the raw honey and stir until fully dissolved. Add more honey to taste if desired. Pour the fire cider into a glass jar (apple cider vinegar bottles work great). Label and store in a cool, dark place where the infusion will last for many months to years. Enjoy!